IT Support
How to Add a Shared Mailbox in Outlook (New Outlook, Classic & Web)
24 July 2026
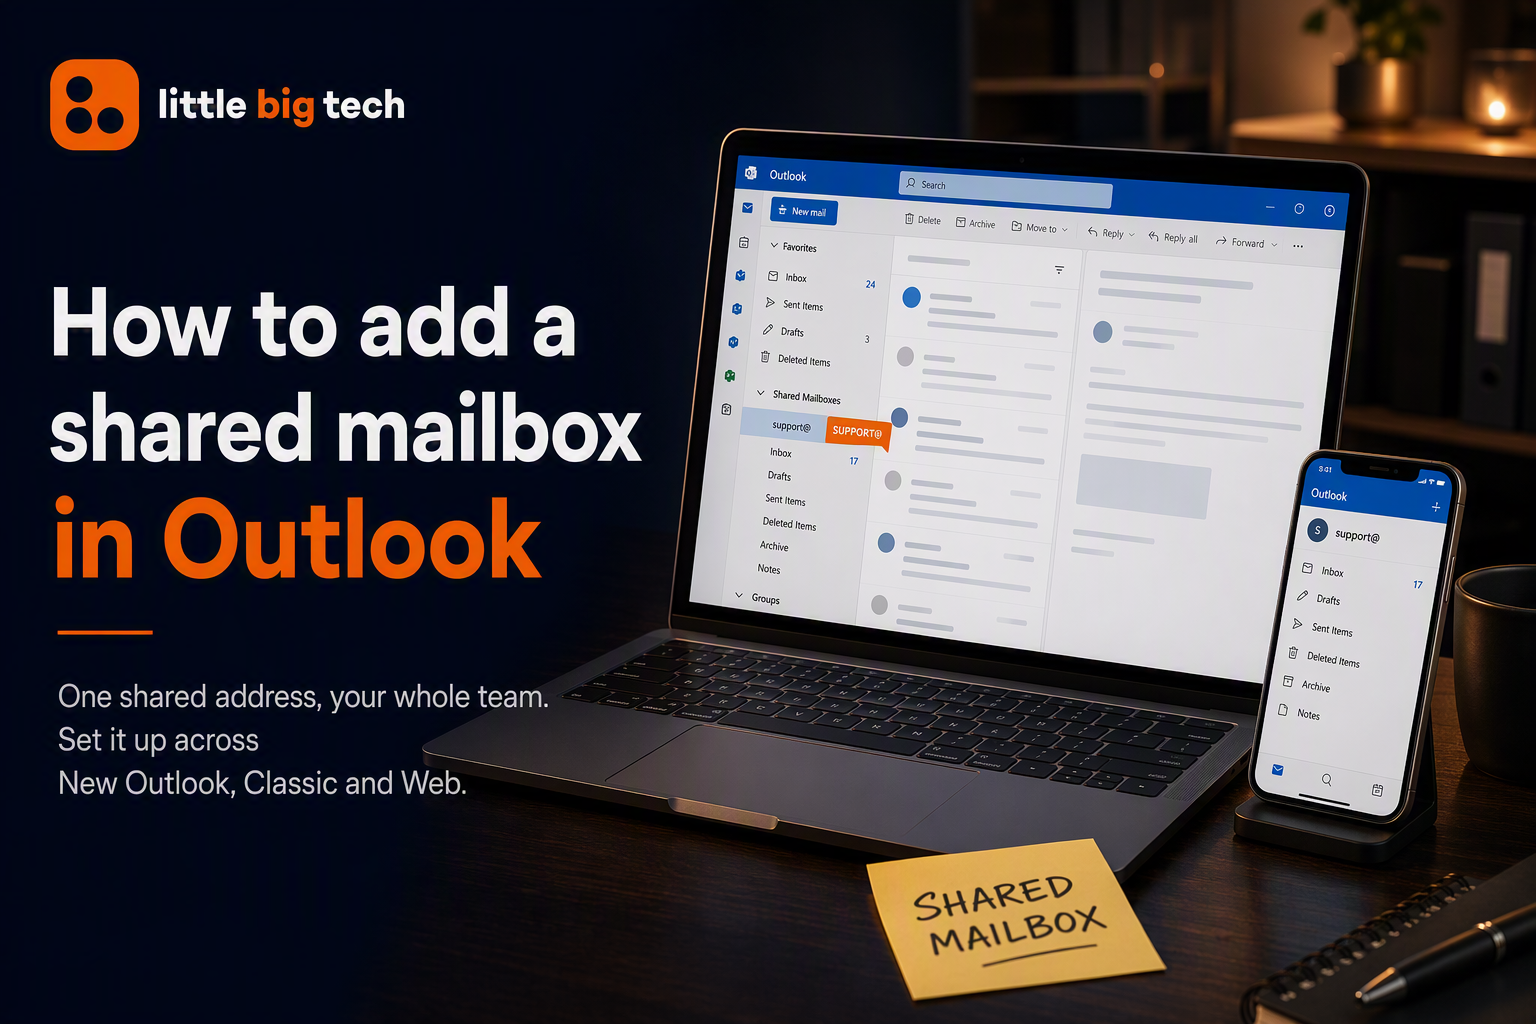
If your team shares an email address, like support@yourcompany.com or info@yourcompany.com, a shared inbox in Outlook makes it much easier to manage. Instead of forwarding messages around or logging into a separate account, everyone with permission can see, reply to and organise the same mailbox from their own Outlook. When someone replies, the email is sent from the shared address rather than their personal email, giving customers and colleagues a consistent point of contact.
Shared mailboxes are commonly used for addresses like support@, sales@, info@ and noreply@, but they're useful for much more than email. Every shared mailbox also includes a shared calendar, making it easier for teams to coordinate meetings, manage bookings or keep track of shared schedules without relying on a single person.
In this guide, we'll walk through what a shared inbox is, how to add one to Outlook across desktop, web and mobile, and how to fix the most common issues that come up along the way.
What Is a Shared Inbox in Outlook?
A shared inbox, technically called a shared mailbox in Microsoft 365, is a mailbox that multiple people can access without needing separate login credentials. It has its own email address and calendar, but no licence or password of its own. Access is controlled entirely through permissions granted by an admin.
Shared mailboxes are commonly used for:
- Customer support or general enquiries addresses
- Team or department inboxes (for example HR, Accounts or IT Helpdesk)
- Shared calendars for scheduling across a team
Before You Start: Permissions Needed
To use a shared inbox, someone with Full Access permission needs to grant it to you, or your admin needs to add you to the shared mailbox. There are two main permission types:
- Full Access lets you open the mailbox and read and organise mail as if it were your own.
- Send As or Send on Behalf lets you send emails from the shared address rather than your own.
If you're not sure whether you have the right permissions, check with your IT team before troubleshooting further, as this is the most common reason a shared inbox doesn't appear.
How to Add a Shared Inbox in New Outlook
Once you've been given permission to access the shared mailbox, adding it in New Outlook only takes a few clicks.
- Open New Outlook and select Mail from the navigation pane.
- In the folder pane, right-click your email account and select Add shared folder or mailbox.
- Enter the email address of the shared mailbox you want to add.
- Click Add.
The shared mailbox will appear underneath your own mailbox in the folder list, ready for you to access.
If the mailbox doesn't appear straight away, give Outlook a few minutes to sync or restart the application.
How to Add a Shared Inbox in Classic Outlook
Classic Outlook will often add a shared mailbox automatically once you've been granted permission. If it doesn't appear after a short while, you can add it manually:
- Open Outlook and click File in the top-left corner.
- Select Account Settings > Account Settings.
- Highlight your email account, then click Change.
- Click More Settings, then open the Advanced tab.
- Click Add, enter the shared mailbox email address, then click OK.
- Click Apply, then OK, followed by Next and Finish.
The shared mailbox should now appear underneath your own mailbox in the folder pane.
Restart Outlook if it doesn't show up straight away.
How to Add a Shared Inbox in Outlook on the Web
- Sign in to Outlook on the web.
- In the folder pane, right-click Folders.
- Select Add shared folder or mailbox.
- Enter the shared mailbox email address and click Add.
- The shared inbox will appear as a separate folder group in your navigation pane.
How to Add a Shared Inbox in Outlook for Mac
- Go to Tools > Accounts.
- Select your Exchange account, then click Delegation and Sharing (or Advanced > Delegates, depending on your version).
- Under "Shared with me," click + and search for the shared mailbox.
- Select it and click Add.
How to Add a Shared Inbox in Outlook Mobile
- Tap the menu icon and go to Add Account.
- Choose Add a Shared Mailbox.
- Enter the shared mailbox address and confirm.
How to Send Email From the Shared Inbox
Having the mailbox added doesn't automatically let you send from that address. You'll also need Send As or Send on Behalf permission. Once that's been granted:
- Start a new email.
- If the From field isn't visible, go to the Options tab and click From.
- Click From, choose Other Email Address, and enter the shared mailbox address, or select it if it appears in the list.
- Compose and send as normal. Recipients will see the shared address rather than your personal one.
Common Issues and Fixes
The shared mailbox isn't showing up in Outlook
Give it a few hours to sync automatically, or add it manually using the steps above. If it still doesn't appear, confirm with your admin that Full Access permission has been granted.
I can see the mailbox but can't send from it
This usually means you have Full Access but not Send As or Send on Behalf permission. An admin will need to grant this separately in the Microsoft 365 admin centre or Exchange admin centre.
Sent items aren't saving to the shared mailbox
By default, some configurations save sent messages to your own Sent Items folder instead of the shared mailbox's. This can usually be adjusted with a registry setting in Classic Outlook, while Outlook on the web and New Outlook handle this automatically in most cases.
The shared inbox is slow or missing recent emails
Shared mailboxes sync slightly differently to personal mailboxes. Closing and reopening Outlook often resolves the issue. If not, removing and re-adding the mailbox is usually the next step.
Shared Inbox vs Distribution List vs Microsoft 365 Group
It's worth understanding the difference, as these are often confused:
- Shared mailbox: A single mailbox with shared access that doesn't require its own licence. It's ideal for support, sales and other team email addresses.
- Distribution list: Sends a copy of each email to every member's own inbox. There isn't a shared mailbox or shared reply address.
- Microsoft 365 Group: Includes a shared inbox, calendar, file storage and Teams integration, making it a better choice for ongoing collaboration across a team.
Need Help Setting This Up?
If you're not sure whether your organisation's shared mailboxes are configured correctly, or you need help with permissions, our Microsoft 365 experts can help. See how we manage Microsoft 365 and Exchange administration as part of fully managed IT support, or get a free Technology Resilience Score to see where your wider Microsoft 365 setup stands.
FAQs
Do I need a separate licence for a shared mailbox?
No. Shared mailboxes don't require their own Microsoft 365 licence, provided the mailbox stays within the storage limit, which is typically 50GB. Larger shared mailboxes may require a licence.
Can I access a shared inbox from Outlook on my phone?
Yes. You may need to add it manually within the Outlook mobile app's account settings, in much the same way as you would on the desktop version.
Who can grant me access to a shared mailbox?
A Microsoft 365 admin, or anyone with delegated permissions over that mailbox, can grant you Full Access or Send As permissions.
Is your business's technology environment resilient?
Find out how prepared you really are to keep operating and recover quickly if disruption hits — with a free Technology Resilience Score™.